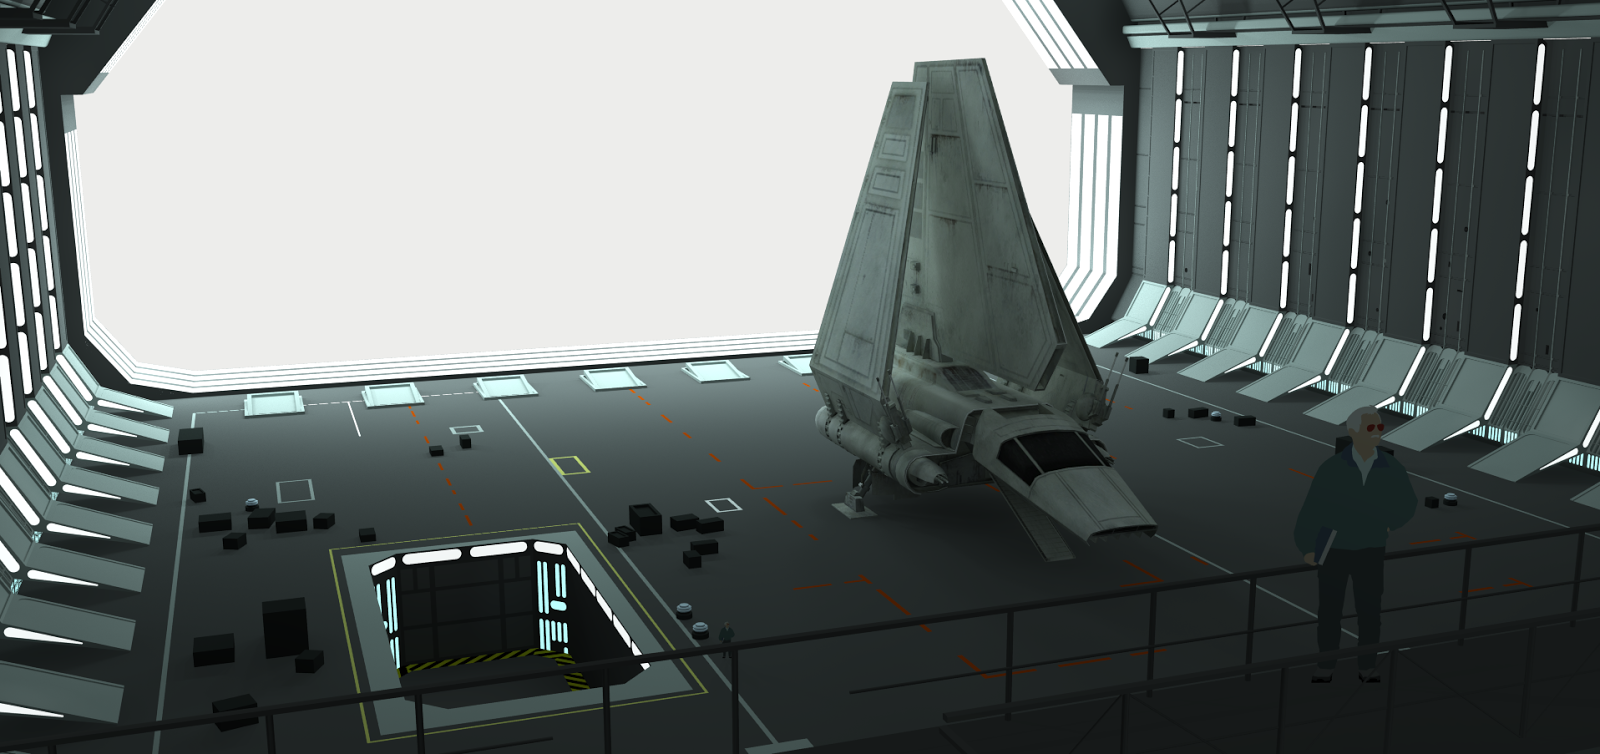
So between projects (and partially becase of a current project) I felt I wanted to practice more with lighting within 3D space. As digital modelling isn't quite the same as switching on a normal light bulb, I wanted to play with settings to see if I could further grasp how to recreate a 'look' for my concept art.
My fundamental inspiration came from using a recognisable film frame and rereating a set rather than simply making something up and hoping it looked right. Also the first 20minutes of a great panel discussion with
John Knoll at Star Wars Celebration 2016 gave a similar, more polished example of what I was thinking of.
So as you can see below, this is my current desktop wallpaper. A Star Destroyer hangar bay from Jedi I believe...
The first thing was to match the perspective and camera view which can be done pretty effectively using MatchPhoto in SketchUp. I began by blocking out the space that was visible. No point in building outside of the camera view. Let's be cost/time effective ;)
The red highlighted area is a note that I never intended on building outside of the hangar. It would be painted or photbashed in as a background element.
The foreground gantry really sits quite far back in terms of the shot but realistically you can recognise the forground element is actually shot footage on a matte.
Detail was never the intention with this practice build. I blocked in the notable forms and of course light sources. The Imperial Shuttle (below, red), I grabbed from the SU warehouse so kudos to the person who built it. Highlighted below in yellow is a very large spot light source (I should mention I was using Podium as my rendering software). The green scribbles are omni light sources. Used to light the general area they are placed without a specific direction.
A reverse view shows the model build and lack of any detail behind the 'camera lens' (red).
A cross-section of the build shows how the entire set was encased to remove any 'outside' light that may affect the interior space.
RENDERING
So the first render was literally to see what would happen before I turned on any lights. The main source of light came from 'outside' the set before I had taken the time to box everything in as described above.
It's pretty dark at this point, so lets turn on the lights.
The huge bars of light that go around the opening I set with 'intensity' turned on but for the vertical light panels on the side and blue glow from the elevator I turned on to something like '10' to see what would happen. As you can see it's a total blow out of light. Too much from that outside spot light (something daft like '64'). All way too much but a starting point. Now to pull it back.
This was better. the vertical lights I dropped down to '6' I think and the outside spot light went down too '44' and was moved back a tad. It was at this point I realised the outside space was affecting the set as well and so I blocked it in with a black box to resemble space. Playing with lights and numbers proved helpful when I purposefully started with too much as it gave me something to work back to rather than say starting at lighting strength '1' and going up from there. It would have taken too long.

Now I'm not a 3D modeller (hence my use of SketchUp). I'm not sure I could call myself a 3D generalist either. For what I do and my process. This (half a days work so far) is enough to work with in concepting up. There is a general feel of the correct light levels beginning to come through and once brought in to Photoshop I would be able to make minor level adjustments much quicker than inside the model. Again, the idea of this test was to practice lighting a space (in this case a very large one).
With a very quick drop in of the background and a little adjustment you can see the beginnings of a set being concepted with a strong light source that is effective and realistic enough to work with...